How to Integrate Secret Server with UiPath for Secure Credential Management
If you are looking to use Secret Server as your password manager for storing credentials in UiPath automations, follow these steps to integrate the two platforms. Having reviewed the Delinea documentation, I found it fragmented and incomplete, requiring additional cross-referencing with UiPath’s documentation. You may refer to UiPath’s documentation here: [Orchestrator – Thycotic Secret Server Integration (uipath.com)].
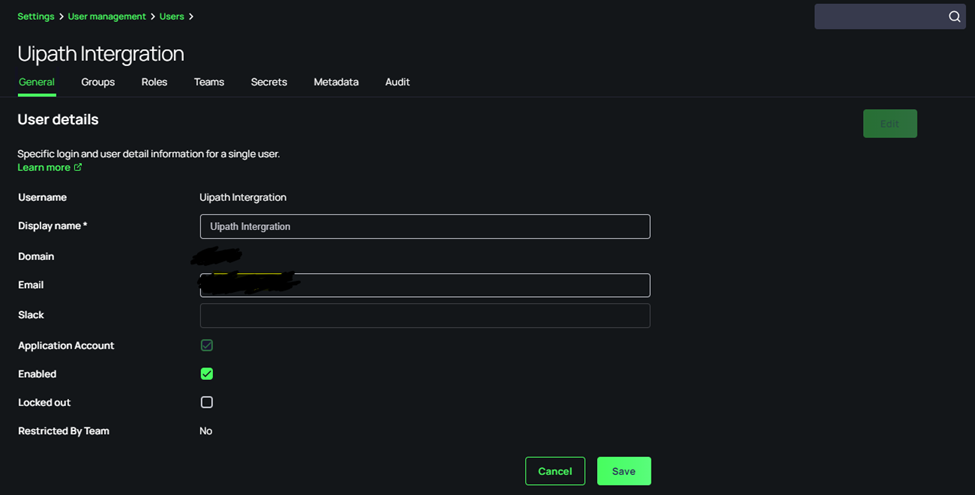
Step 1: Create a User for Integration in Secret Server
You will need to create a specific application user in Secret Server to handle the integration. In my case, I created a user called “UiPath Integration,” but you can choose any name.
To create a user in Secret Server:
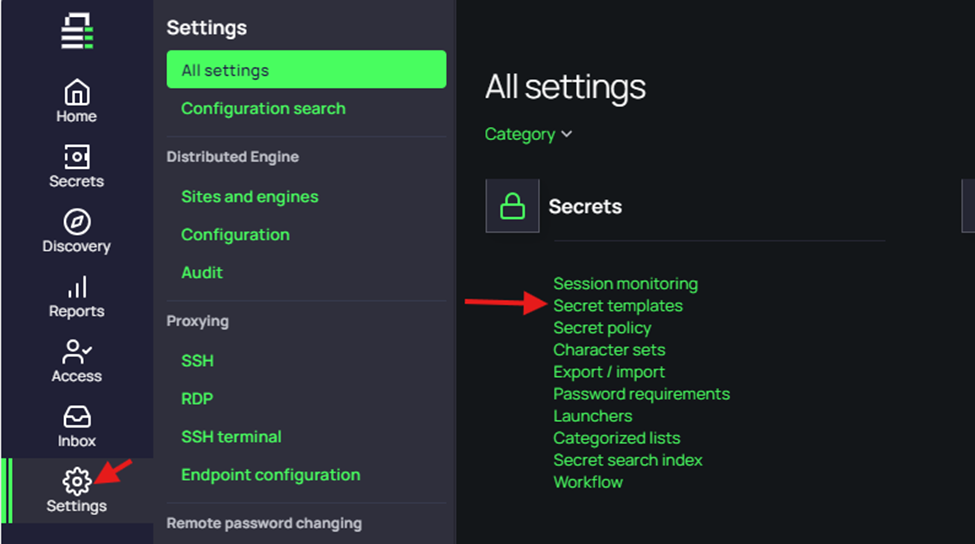
In the left panel of Secret Server:
Go to Access > Users > Create Users.
Ensure you click “Application Account.”
Select your Domain, Username, Display name, and email.
Click Add User.
Once the user is created, find it in the user list, and:
Under the Role section, add the Administrator role to the user.
Under the Tools and Integrations section, click on SDK Clients.
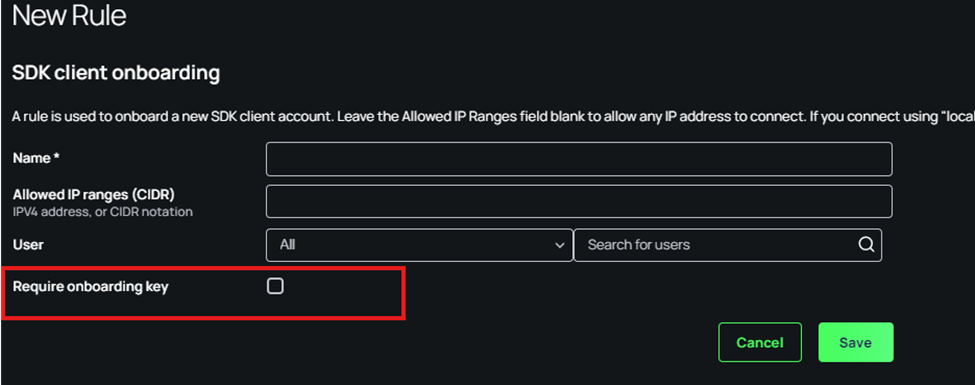
Navigate to Client Onboarding > Create Rule and fill in the required information.
Select Require Onboarding Key.
In the User field, search for and select the user created in Step 1.
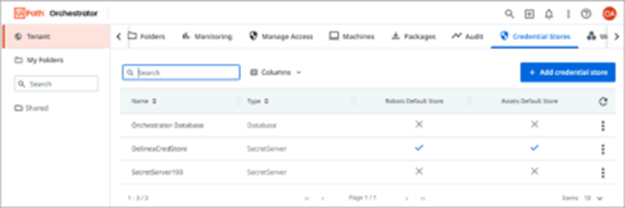
Step 6: Create a Credential Store in UiPath Orchestrator
Log in to your UiPath Orchestrator account.
Click on Tenant, then select Credential Stores.
Click + Add Credential Store to create a new credential store.
Provide the following information for the new credential store:
Type: Select SecretServer from the dropdown menu.
Name: Enter any name for your credential store.
Secret Server URL: Enter your unique Secret Server URL.
Rule Name: This should match the Rule Name created in Secret Server (the SDK name).
Rule Key: Enter the onboarding key generated in Secret Server.
Reset Key: This can be left blank.
Username Field Slug: Use “username.”
Password Field Slug: Use “password.”
Click Create.
Step 7: Set Folder and Secret Permissions
In Secret Server, assign the user created in Step 1 as the Owner of the folder where the secrets used by UiPath are stored.
In UiPath Orchestrator, navigate to the Workspace where your Secret Server credentials are stored.
Under Assets, add the asset name, ensuring it matches the name of the secret in Secret Server exactly.
For Credential Store, select Secret Server.
Ensure the Asset Value is checked.
In the External Name field, enter the ID of the secret from Secret Server (not the folder). This ID can be found in the URL when you click on the secret in Secret Server, for example: